Imagine you want to have all your files stored in the cloud, not via Google, OneDrive, Dropbox, etc., but one that you control, such having a network attached storage (NAS).
In this guide, I'm going to show you how to back up your data from a linux machine to a Synology NAS.
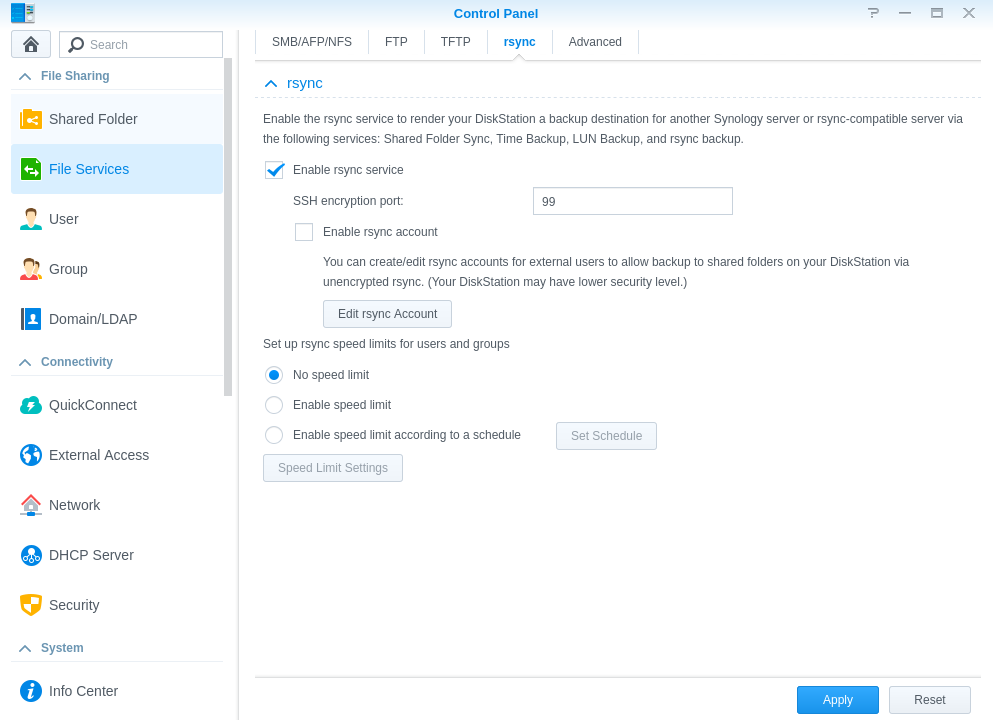
First, enable rsync on your Synology NAS:
Control Panel > File Services > rsync
- Enable rsync service must be checked.
- SSH encryption port: leave as default or indicate your own.
- Rest of the options can be left as is (default).
- Press Apply.
- A new folder called NetBackup will be created under File Station
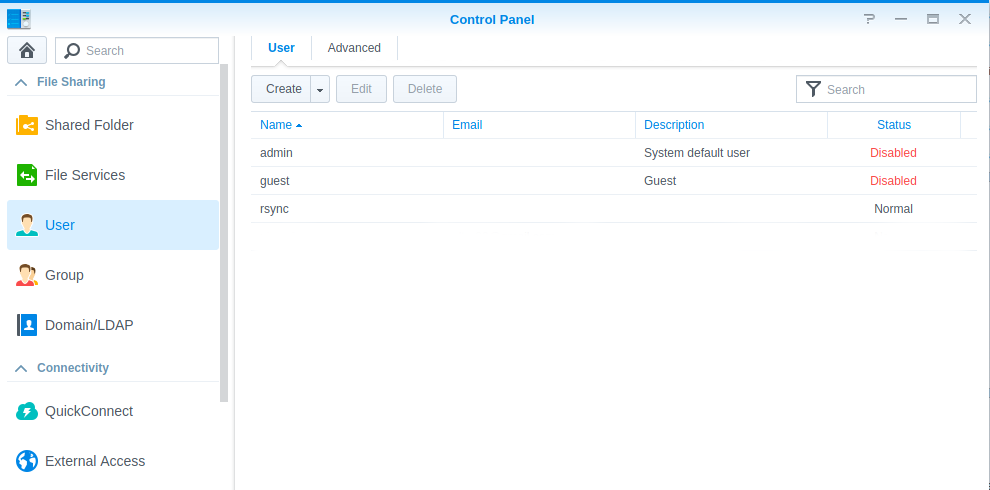
Then, we create new user specifically for rsync:
Control Panel > User > Create
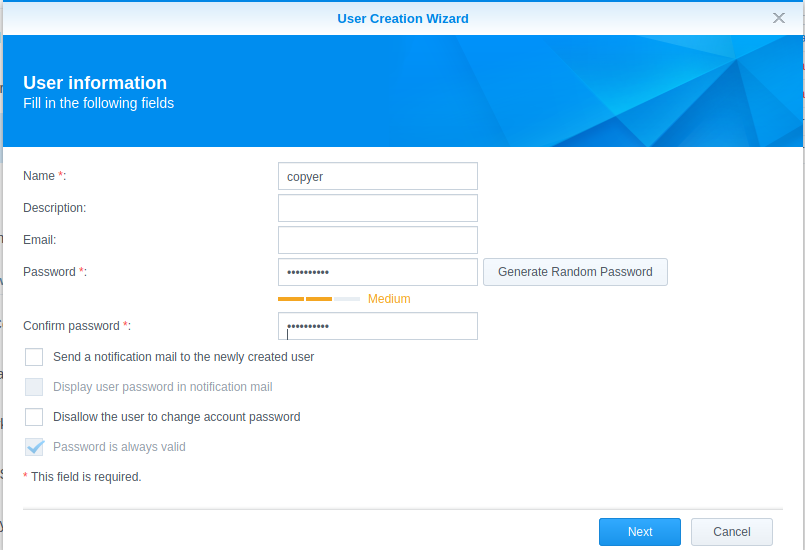
- Name your new user anything you want, then click Next.
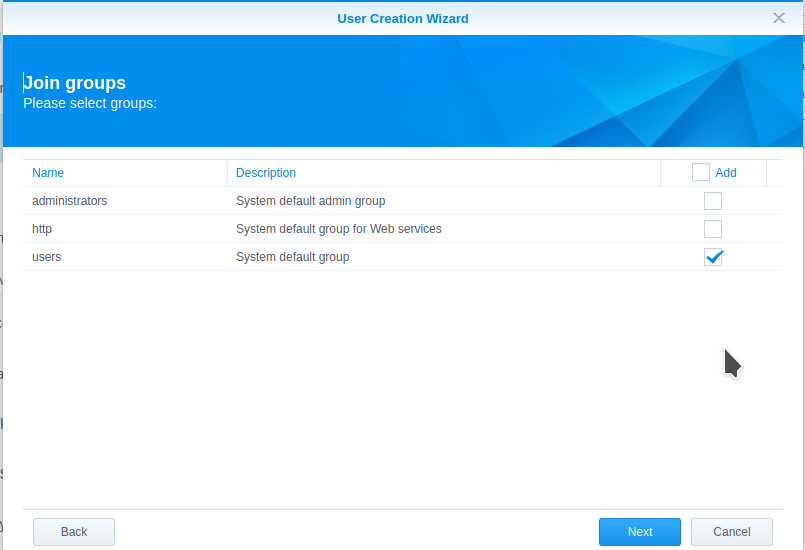
- Your new user can be part of the default group (as shown below), click Next.
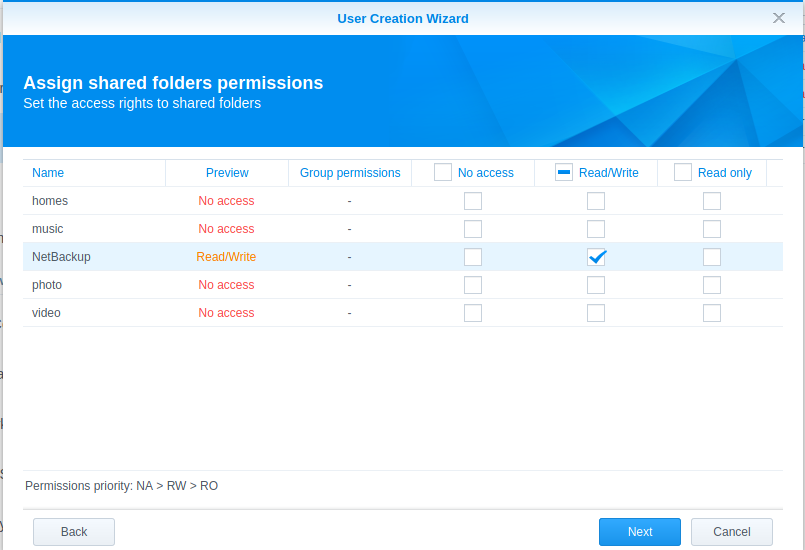
- Give the newly created NetBackup folder Read/Write access, then click Next.
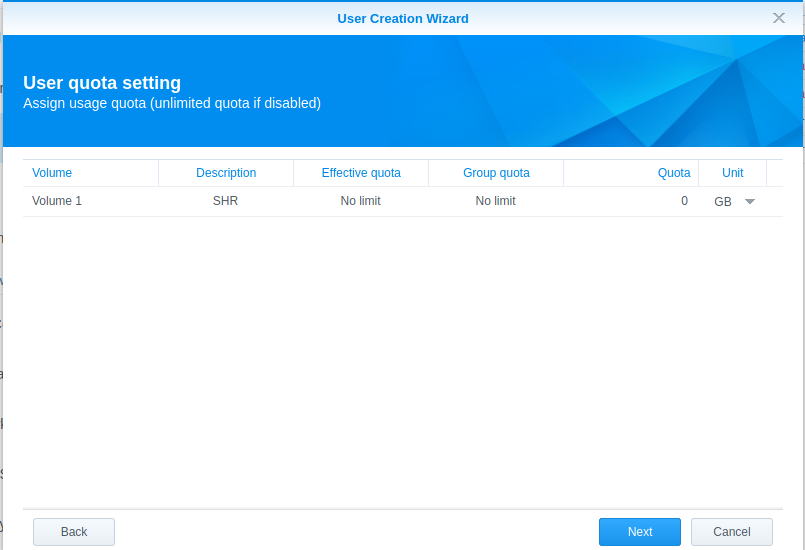
- If you need to set space quota, then specify it, if not, just click Next to continue.
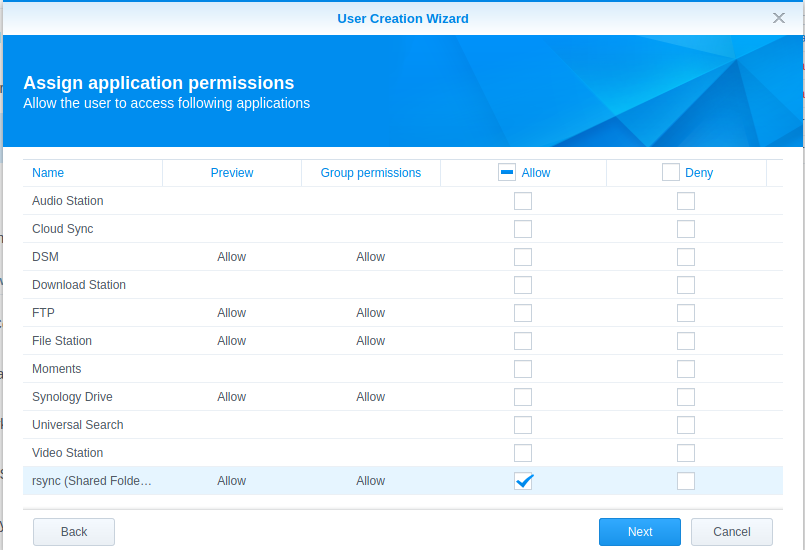
- Assign application permissions, allow rsync (Shared Folder Sync, LUN Backup on supported models), then click Next.
- Leave User Speed Limit Setting as it, then click Next.
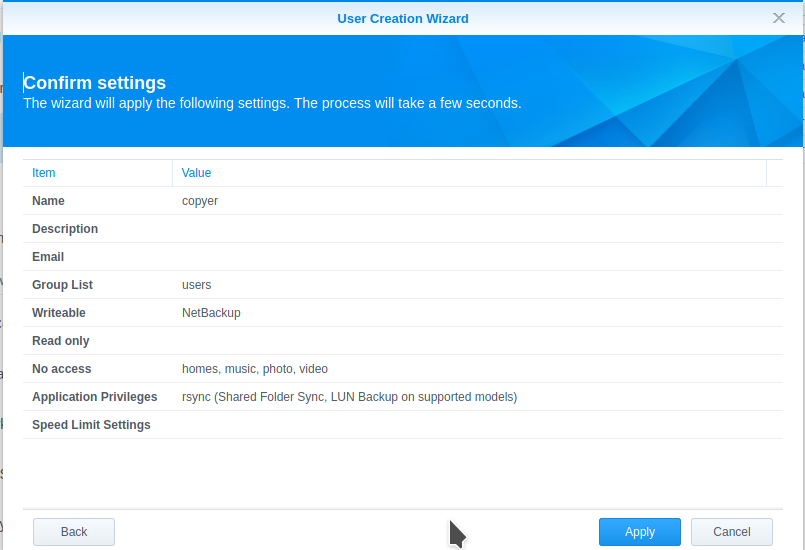
- Confirm your settings, then click Apply.

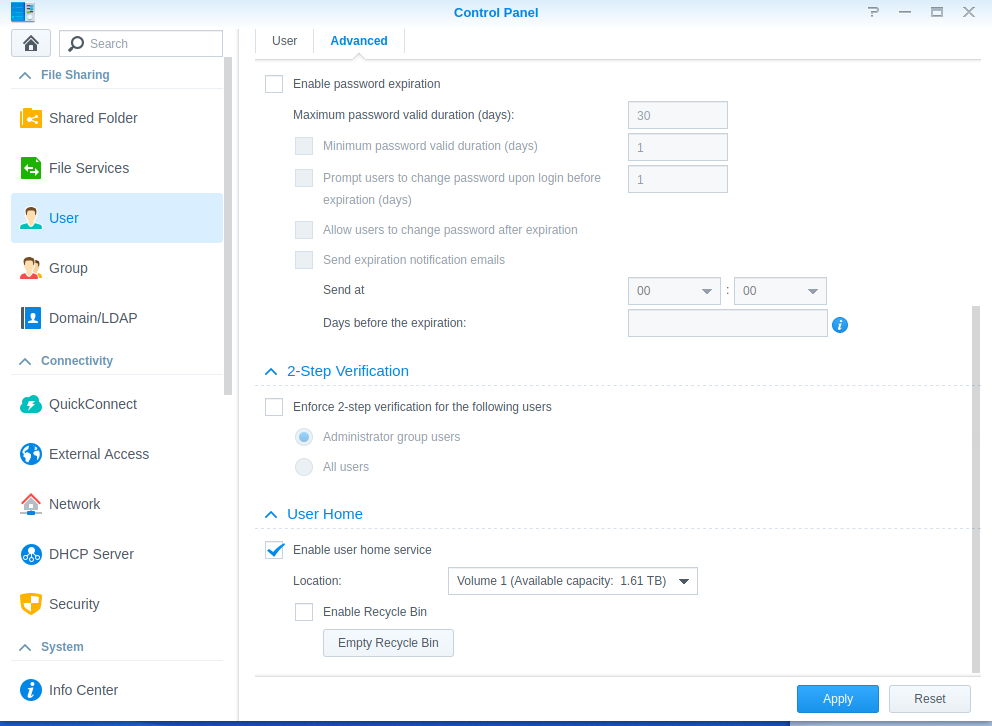
Now, you need to set up home folders.
Control Panel > User > Advanced
- User Home > Enable user home service
- Apply.
Enable SSH
Control Panel > Terminal & SNMP > Terminal > Enable SSH service
- Set the port number to whatever you want or leave it as default (make sure it's the same as with rsync in previous steps)
- Apply.
Now, we'll continue setting up the rest via terminal. You need to access your NAS to continue:
ssh user@192.000.0.000
Replace ip address with your Synology's IP, and replace user with your Synology's user name.
Then type the following to work as root (be careful what you type though!)
sudo su
Go to your new user's home directory:
cd /volume1/homes/user
Create a folder to store the SSH key:
mkdir .ssh
Give the proper ownership by typing the following command:
chown user:users .ssh
Note, "user" is the new user you created earlier.
Give the proper permissions:
chmod 711 .ssh
Go into the .ssh folder:
cd .ssh
Create an empty filed named "authorized_keys":
touch authorized_keys
Change the owner of the file:
chown user:users authorized_keys
Give proper permissions to the file:
chmod 711 authorized_keys
Now, exit root by typing:
exit
It should say something like: "generating public/private rsa key pair."
ssh-keygen
It should say something like: "generating public/private rsa key pair."
It's going to ask you to enter file in which to save the key. Just press Enter.
Then, it'll ask you to enter a passphrase, leave it blank and press Enter.
There are 2 important files generated, found in /homes/"user"/.ssh
- id_rsa
- id_rsa.pub
The contents of the id_rsa.pub must be copied to the authorized_keys file, created earlier. This allows your NAS rsync its contents.
There are 2 important files generated, found in /homes/"user"/.ssh
- id_rsa
- id_rsa.pub
The contents of the id_rsa.pub must be copied to the authorized_keys file, created earlier. This allows your NAS rsync its contents.
cd /var/services/homes/"user"/.ssh/id_rsa.pub
Enter the file to copy the key contents:
sudo vim id_rsa.pub
Access authorized_keys file in your newly created user:
cd /var/services/homes/"new user"/.ssh/authorized_keys
You'll need root access to modify that file. Now past the key contents.
sudo vim authorized_keys
In your host terminal, type the following command to start syncing!
rsync -avvvhW -e "ssh -p [port number]" [file or folder path] [user@ip_address]::NetBackup/
[user] = the new user you create for rsync
[port number] = port number you indicated earlier
[file or folder path] = whatever folder or file you want to backup, i.e. "/home/[user]/Downloads", this will backup the local Downloads folder's content in a folder called "Downloads"
entire drive —> /home/[user]/drive (name of drive without forward / in the end)
[user@ip_address] = same as whatever you used to ssh into from your host's terminal
Now, with the key, this process should seamless and shouldn't ask for password. However, it does with mine so something went wrong during the process. I'll need to look into that.
We haven't talked about automating the process. I have an idea on how to do it, however, with the key, it is not possible. Probably will have a part two if I get the key and automation working.